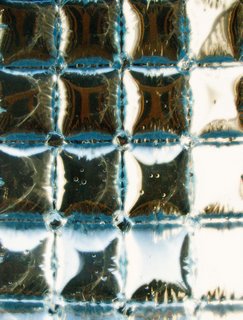
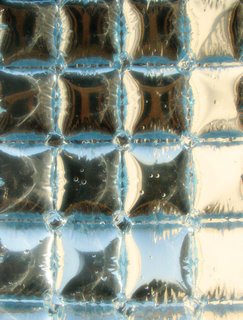
Square.

First, I thought that Gary's recipe for the monochrome overlay was the same as the one for diffusion. So I made a diffusion. You can see the original pic on my blog... As you can see, there is a loss in details! :(
Then, I tried the monochrome overlay.... OH! Nice! I like that. And it's really FUN to do.... The result is better. You can keep the details of the pic! :)

Then, I oversaturated...You know me. I can't not do it! *teehee* I must say I love both pics.... Thanks Gary! :)


10 Comments:
For a contrast mask, insert step "2a" between steps 2 and 3:
2a. Invert the layer.
This turns black to white and vice versa. It has the effect of increasing the effective dynamic range in a picture; good for leveling out bright skies and dark foregrounds.
Also, try tweaking the amount of Gaussian Blur to see its effect on the resulting detail.
Did it!
I've got no clue what you folks are speaking of here. Call me an ignorant mule. However, I really like this!!
None of us do Steve, that what happens when conversations span various URLs and mediums.
This pics are interesting though
Here's what they are talking about
I implimented it here without the blur
Steve, we're talking of stuff in photoshop! It has taken me 6 monts to have an idea how to use the layers... Heh heh. But now, I'm a PS-Geek... Yup!
Paul, your flowers are beautiful!
:)
Sorry, everyone. My first comment was in response to merlinprincesse's post. I should have referenced the full instructions. Thanks, Paul G.
Steve: We're talking "Photoshop" but the technique can be done in any image editing package that supports layers. For example Jasc's (now Corel's) Paint Shop Pro.
Paul G: You're absolutely right, the blur is optional with this technique.
Merlinprincesse: I'm spoiled now. Much as I like Picasa and ACDSee, I only use them for asset management. I do all my post-processing in Pixmantec RawShooter:premium and Adobe Photoshop Elements 3.
Post a Comment
<< Home